Taking you one step ahead
Converting Cisco 79x1 phones from SCCP to SIP
Most of our clients by now know what IP telephony is and we have quite a few success stories as well. As with all new things being introduced to a microbusiness, they want it cheap. It doesn't matter what the cost is, they want it cheaper. And there's nothing wrong with this, I want to buy cheaper stuff as well. However, when it comes to quality (and telephony is something where quality does matter) prices can go up high easy. One of the most important part is the end device, the ip phone itself. Its quality determines how end users will adapt to the system. Give them a $10 budget IP phone from China - nobody ever will think your system as a serious one. Also, get ready for constant complaints about noise, volume and call quality. No, when it comes to IP telephony, I tend not to go cheap on the visible stuff. Therefore I go Cisco.
Now, since the unorthodox step of buying Linksys, we know there is Cisco small business, and there is everything else. The small business series used to be the Linksys phones. Interestingly, Linksys bought Sipura, so when Cisco acquired Linksys, they sort of got Sipura as well. Hence the first series of IP phones had the Linksys SPA in their names (the 3xx series), later came the Cisco SPA (5xx series) and then Cisco dropped the SPA name alltogether. These are pretty good phones, although the Linksys branded version looks like kind of a toy, the 5xx series is a proper phone. I even have it on my desk here, the 504G is a great phone. The common thing amongst all is the protocol - they all do SIP (please bear in mind that in the Tech Corner I'm focusing on advanced topics, hence the basics of SIP are not explained here - go and google them if you're interested). These are pretty easy to deal with - plug them in, have a DHCP server ready, go to the phone's web interface, make some minor changes and there you go. No magic here.
The enterprise class phones however are a totally different story. These phones are the 79xx series and have always been named Cisco, no other brands are known. These phones are meant to be used with Cisco's very own PBX, the Cisco Call Manager (CCM) or as we know it today, the Cisco Unified Call Manager - CUCM. Quite an awkward name, but there you go. CUCM and the phones mostly speak SCCP which is Cisco's own propietary protocol for voice and video traffic. We, out here in the open source world don't really like SCCP, but Asterisk does have support for it (with limitations). These phones have been around for decades, and not only the phone itself was quite expensive ($100 for a mid-range phone is not cheap), but also the CCM itself, the licence and the engineer who put the entire system together was extremely expensive. Back in the days, not everybody could afford a VoIP solution. Things are different now, and for the purpose of today's blog entry - the 79xx series phones are quite cheap these days on ebay! I usually pick them up for £10 each, sometimes I can get a good deal. However, these phones come with SCCP as they are pulled from an office environment. No power brick, no SIP image on them. If you wish to have a cheap but excellent quality phone, you need to convert them from SCCP to SIP. This is quite easy for the 7911, 7912, 7940 and 7960 models. However, it is very difficult for the 7941, 7961 models and almost impossible with the 7931 model. Most documentations I've found were incorrect, outdated or just simply wrong. So here I am, putting together the ultimate guide on how to flush a 79x1 phone. Let's begin.

The first step should be to check out the phone and remove what is called a trust list. If the phone has a trust list configured, it means that it's only going to accept configuration files from a known and trusted source. This won't be your TFTP server, but the pre-configured CCM only. Fire up a packet sniffer and see what files do the phone request on boot. If it's XMLDefault.cnf.xml.sgn (note the .sgn at the end) it means that the phone had been used with Cisco Call Manager version 8 and the config files are signed. Nothing will be accepted over TFTP, so don't even bother, as you can't reproduce the valid signatures. To get around this, you need to have physical access to the phone and go to
On a 79X1 series phone, go to Settings > Security > Trust List > ITL File. At this stage, chances are that the phone configuration is locked. Press the key sequence **# to unlock and select the Erase softkey.
On a 89XX / 99XX series phone, go to Settings > Administrator Settings > Reset Settings > Security Settings. You'll have to do this on every phone, one by one, no way to automate this.
Once the trusl list has been erased, you'll find that upon booting, the phone requests XMLDefault.cnf.xml (note the missing .sgn). Have such a file handy on your TFTP server and make sure you advertise its IP address via DHCP, so the phone knows where to obtain the above file from. You also need to have a phone-specific config file, its name is made up from the phone's MAC address. All in all, the following files are requested on boot (these are taken from tcpdump output):
RRQ "CTLSEP001C58D64433.tlv"
RRQ "ITLSEP001C58D64433.tlv"
RRQ "ITLFile.tlv"
RRQ "SEP001C58D64433.cnf.xml"
RRQ "XMLDefault.cnf.xml"
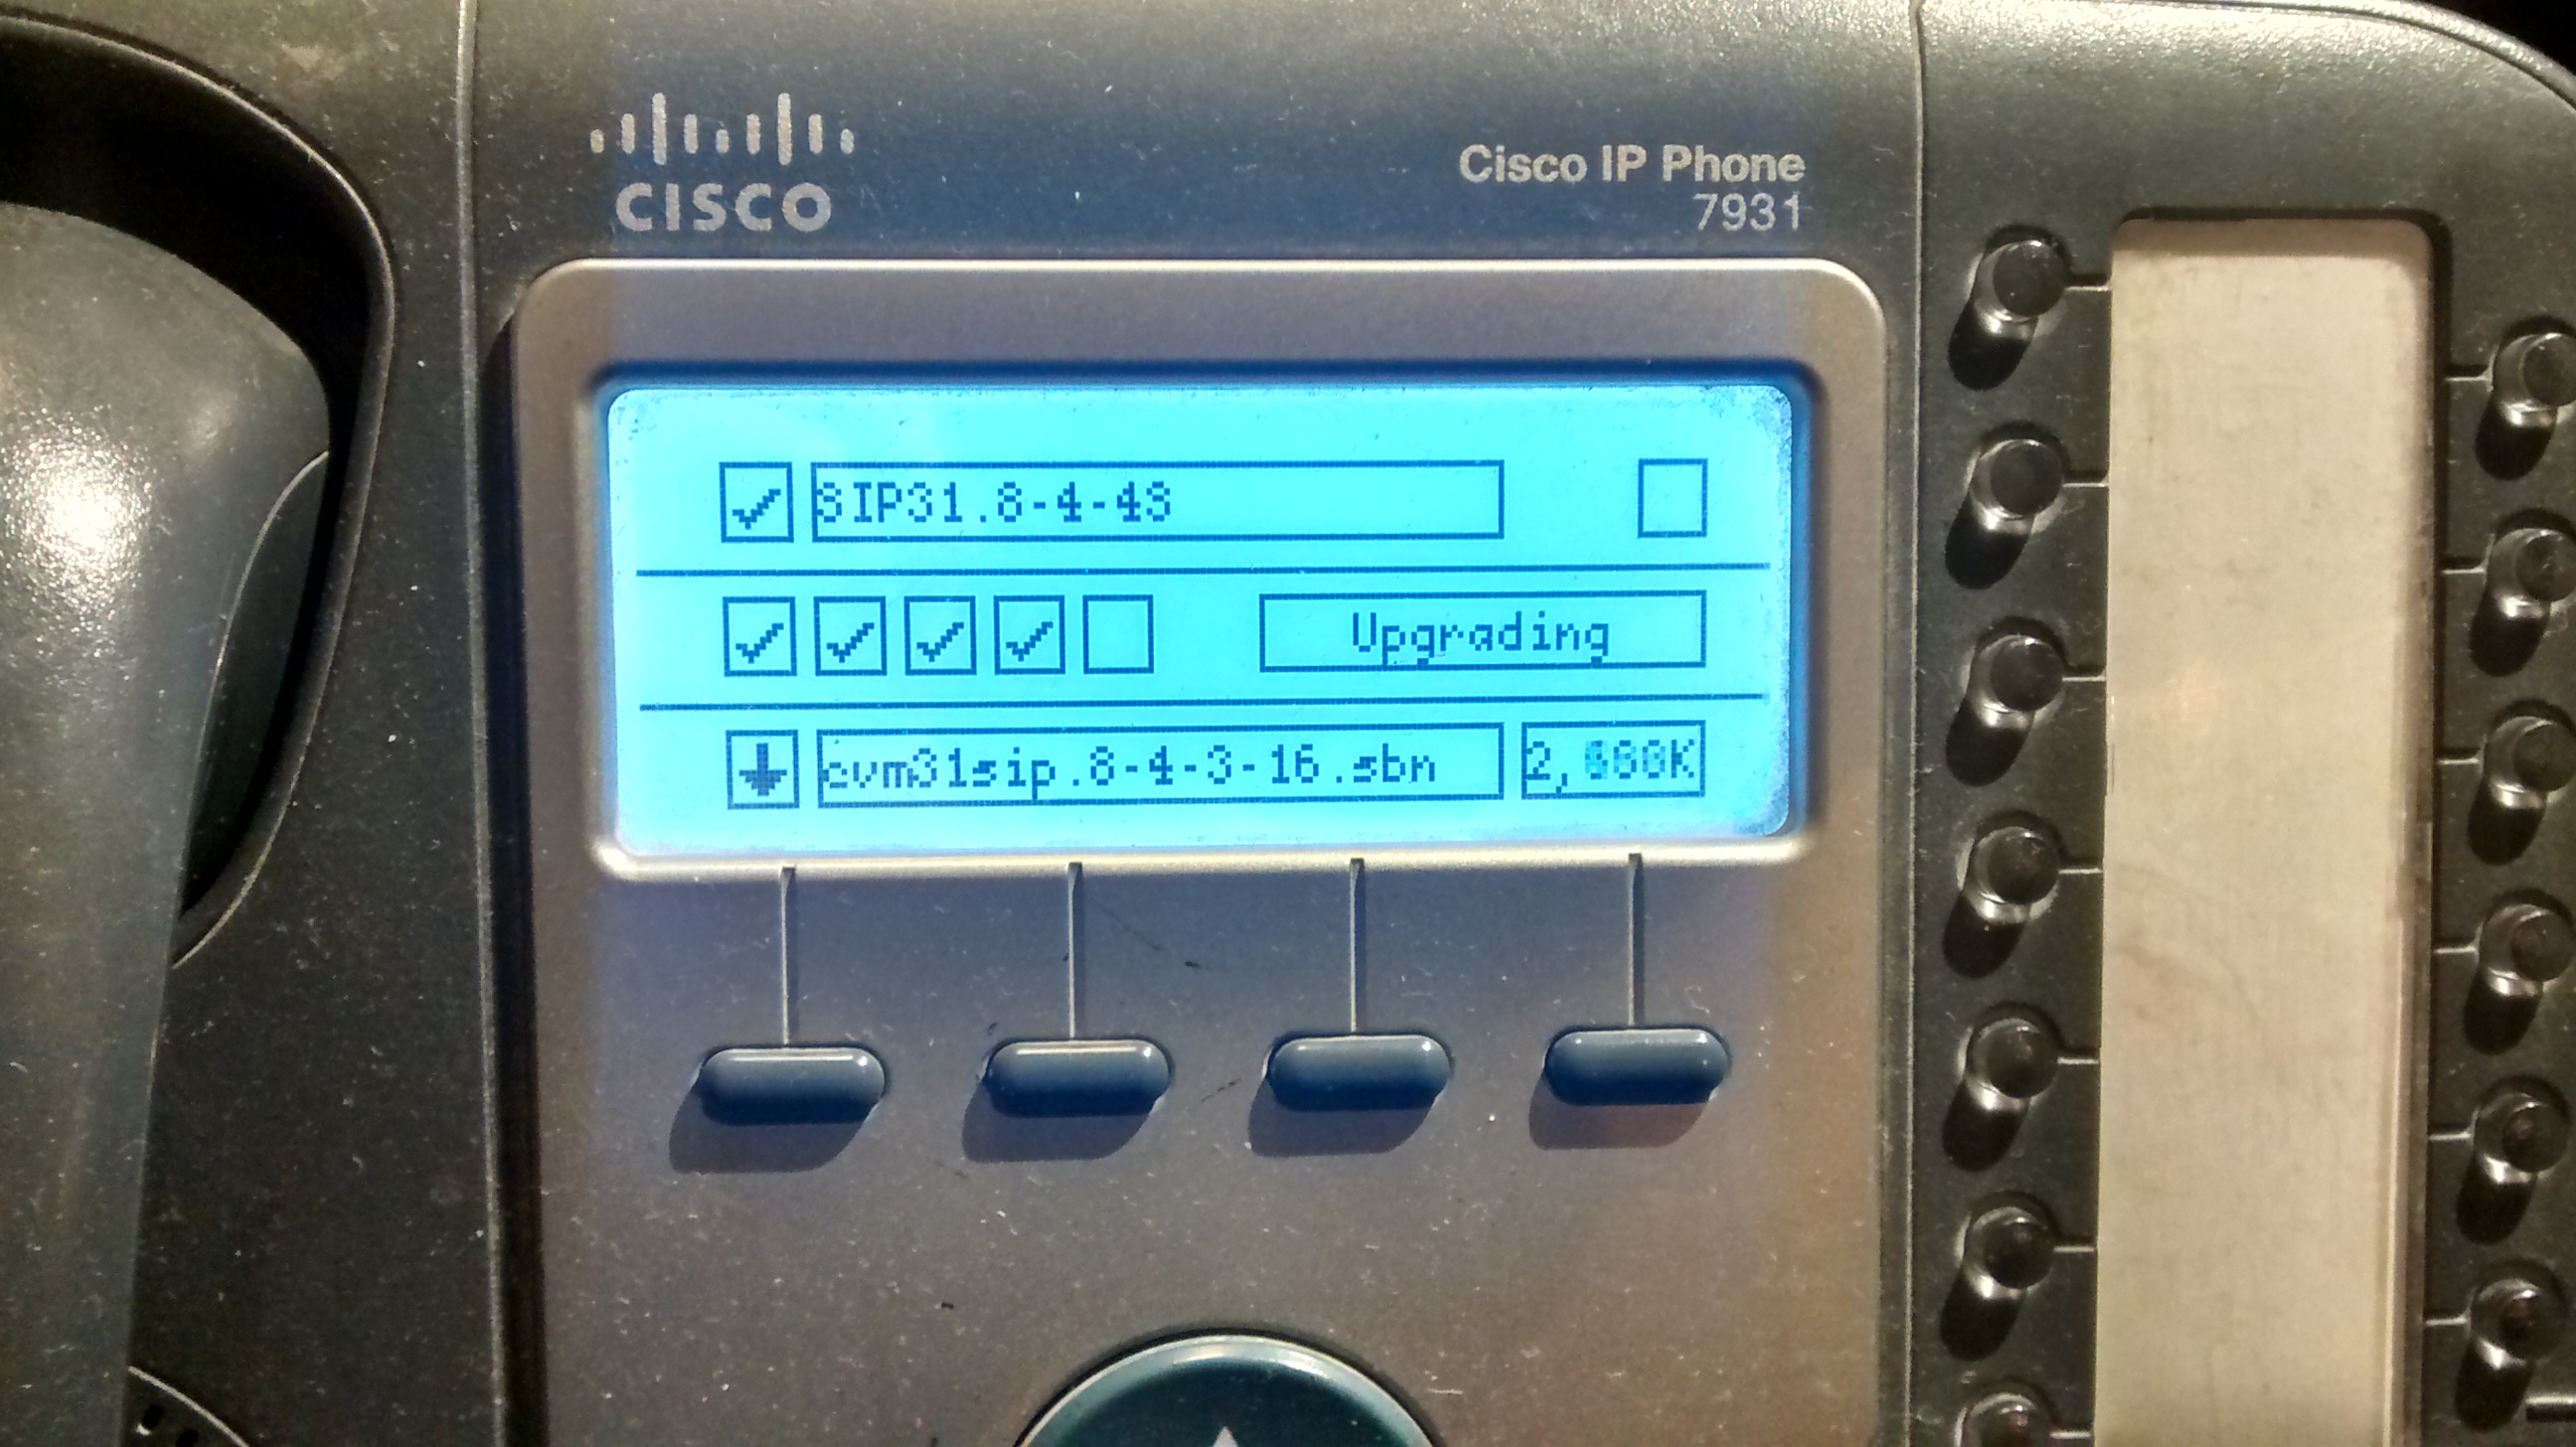
The above files can be obtained from the official Cisco website (you'll need a CCO login). Uncrompress them along with the SIP image, and let the phone load them. You can force a phone to reboot by pressing the following key sequence: **#**.
A quick word about the XMLDefault.cnf.xml file, which you can download from the internet. Pay attention to the relevant line mentioning your ip phone model. In my case, it's
And last but not least, the XML file which is unique to the phone itself also need to be present on the TFTP server. The phone will look for this as it contains all the configuration needed to properly boot, so don't remove these. Several examples can be found online to download and edit.